
I hope you are all doing well. I have missed blogging so much and I feel really good that I can now so it more often since my schedule is getting a bit less crowded. I also hope you like the new blog design.
If you live in Nigeria then you are aware that things are getting out of hand financially. The recession is hitting really hard and it seems no one is immune. Inspite of this I do not want my Fro to suffer so I am working on making a lot of homemade products and utensils to ensure my hair doesn't feel the strain of the harsh economy.
Today I will be showing you how to make an APPLICATOR bottle from any old plastic bottle you have at home. Why bother you ask? Read my post about different ways to use an Applicator bottle.
Let's get right into it. Here's what you'll need:
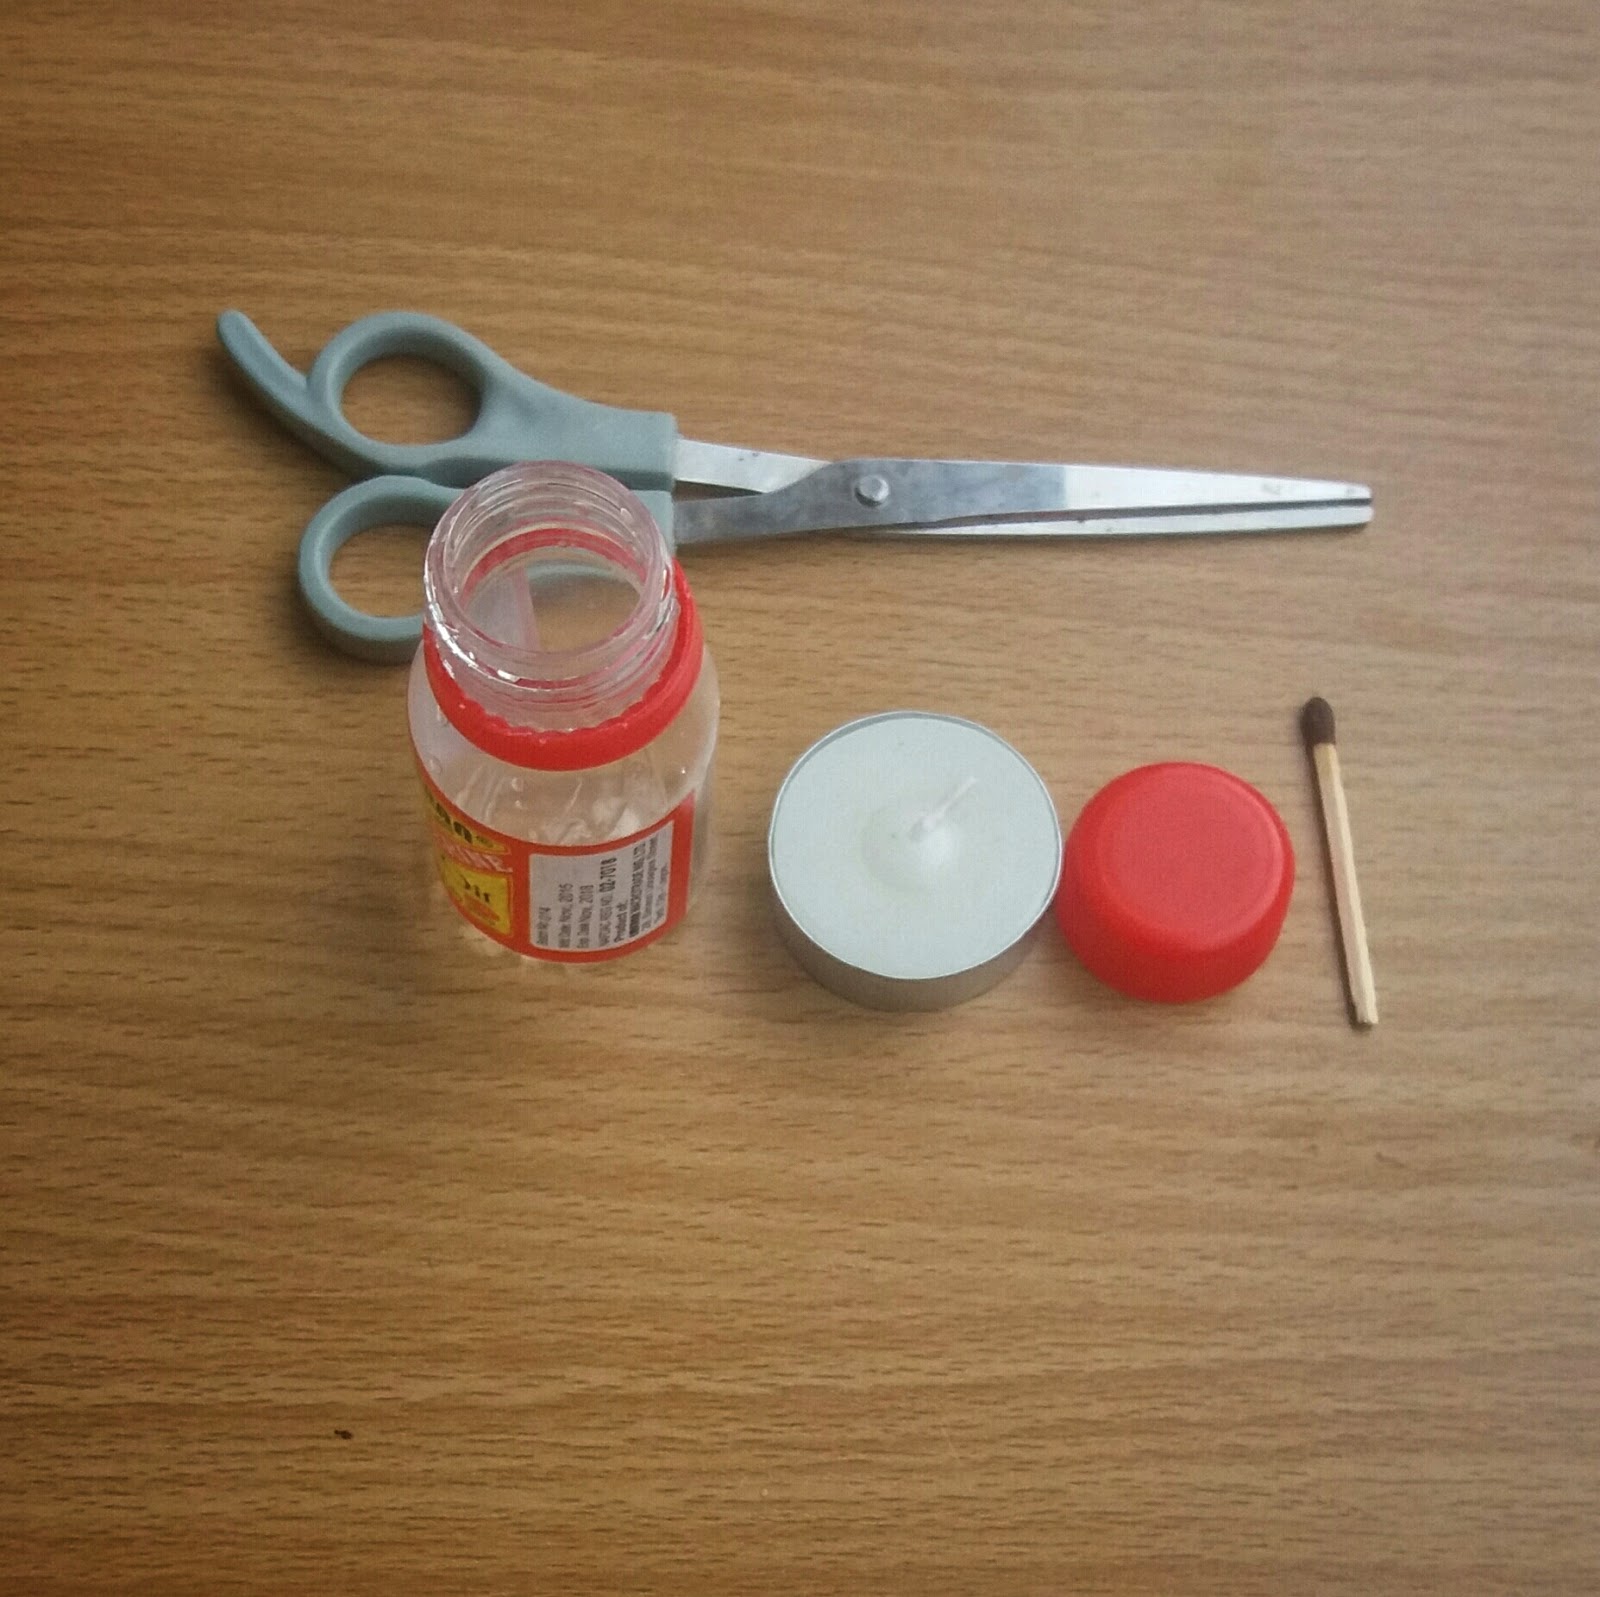
Small plastic bottle with cover
A candle/lighter/gas
A match stick
Scissors
METHOD
1. Remove the bottle cover from the bottle. Using the scissors hold the cover firmly and place it on the heat source in my case I am using a tea candle. Please note: do not place it too close to the heat if not it will burn a hole in the cover. You want the cover hot not melted so keep it at a safe distance for about 10 seconds.

2. As soon as you notice the plastic getting opaque remove it quickly and and insert the match stick right in the middle just like this.

3. Push the match stick through slowly. You'll notice the middle of the cover elongating. Do not push the stick through too much as it might end up being flimsy which will not be ideal.

4. Snip of the top with scissors and it's ready for use!


You can use it to prepoo, shampoo, oil your scalp etc. It really works.


Remember if the cover gets too hot the nozzle will be flimsy. You want just a little heat and stop once you notice the middle of the cover become slightly opaque. I hope this was helpful.
Thanks for stopping by.
KimB
I really love this, it's so creative and helpful.
ReplyDeleteI will try and see if I can make mine too.
Thanks for sharing..i love your blog.
Thanks for your kinds words.
DeleteWoow! This is so so creative, you should put all these DIY project on pinterest. I love it. I will most definitely try it out. Thanks loads.
ReplyDeleteThank you that means a lot! Hope it turns out well for you.
DeleteWow. This is really neat. I've never been one for DIY's but this is very interesting.
ReplyDeleteDon't Touch the Hair
Thanks alot Uzoma
DeleteThanks alot Uzoma
DeleteThat's so amazing I usually throw away, now I will try this. Thanks
ReplyDeletehttps://naturallykinkyme.wordpress.com
So happy to hear that. I hope it works out well.
DeleteSo happy to hear that. I hope it works out well.
DeleteWow, wow, wow! So so creative. *applauds*
ReplyDeleteAwwws thanks alot (:
DeleteAwwws thanks alot (:
DeleteThis I wouldn't have tot off
ReplyDeleteWaoo
Fashionitazbybuiti.blogspot.com
Now it’s the time to forget about all worries the of hair transplant. We gives the most effective and safe results of FUE hair transplant. To get more information, you can visit our website
ReplyDeleteI was about to pay 1000 naira for applicator bottle then I remembered I'd seen DIY on your blog. Came here, read the post then did it myself and it worked out great! That's how I'd have spent money just like that! Thanks for this!
ReplyDeleteYou're a genius!!!!!
ReplyDeleteYou're a genius!!!!!
ReplyDeleteAnd I've been looking for applicator bottle to buy? God bless your genius ma'am
ReplyDeletethanks for sharing this amazing knowledge with us i suggest you buy comb for hair growth on very resendable price
ReplyDelete