Hi there,
I had been hearing a lot about Apple Cider Vinegar for natural hair but I wasn't too inclined to jump on the band wagon because it just sounded weird. The claims were numerous :
I read the claims but I didn't really believe them and I went about my other hair business. All this changed in December when I went in search of coconut oil in Park and Shop Lekki. Although I make my own coconut oil I am intrigued by the semi solid one sold in jars. I searched high and low in the supermarket and I didn't find it but I found something else - Apple Cider Vinegar, ACV for short.

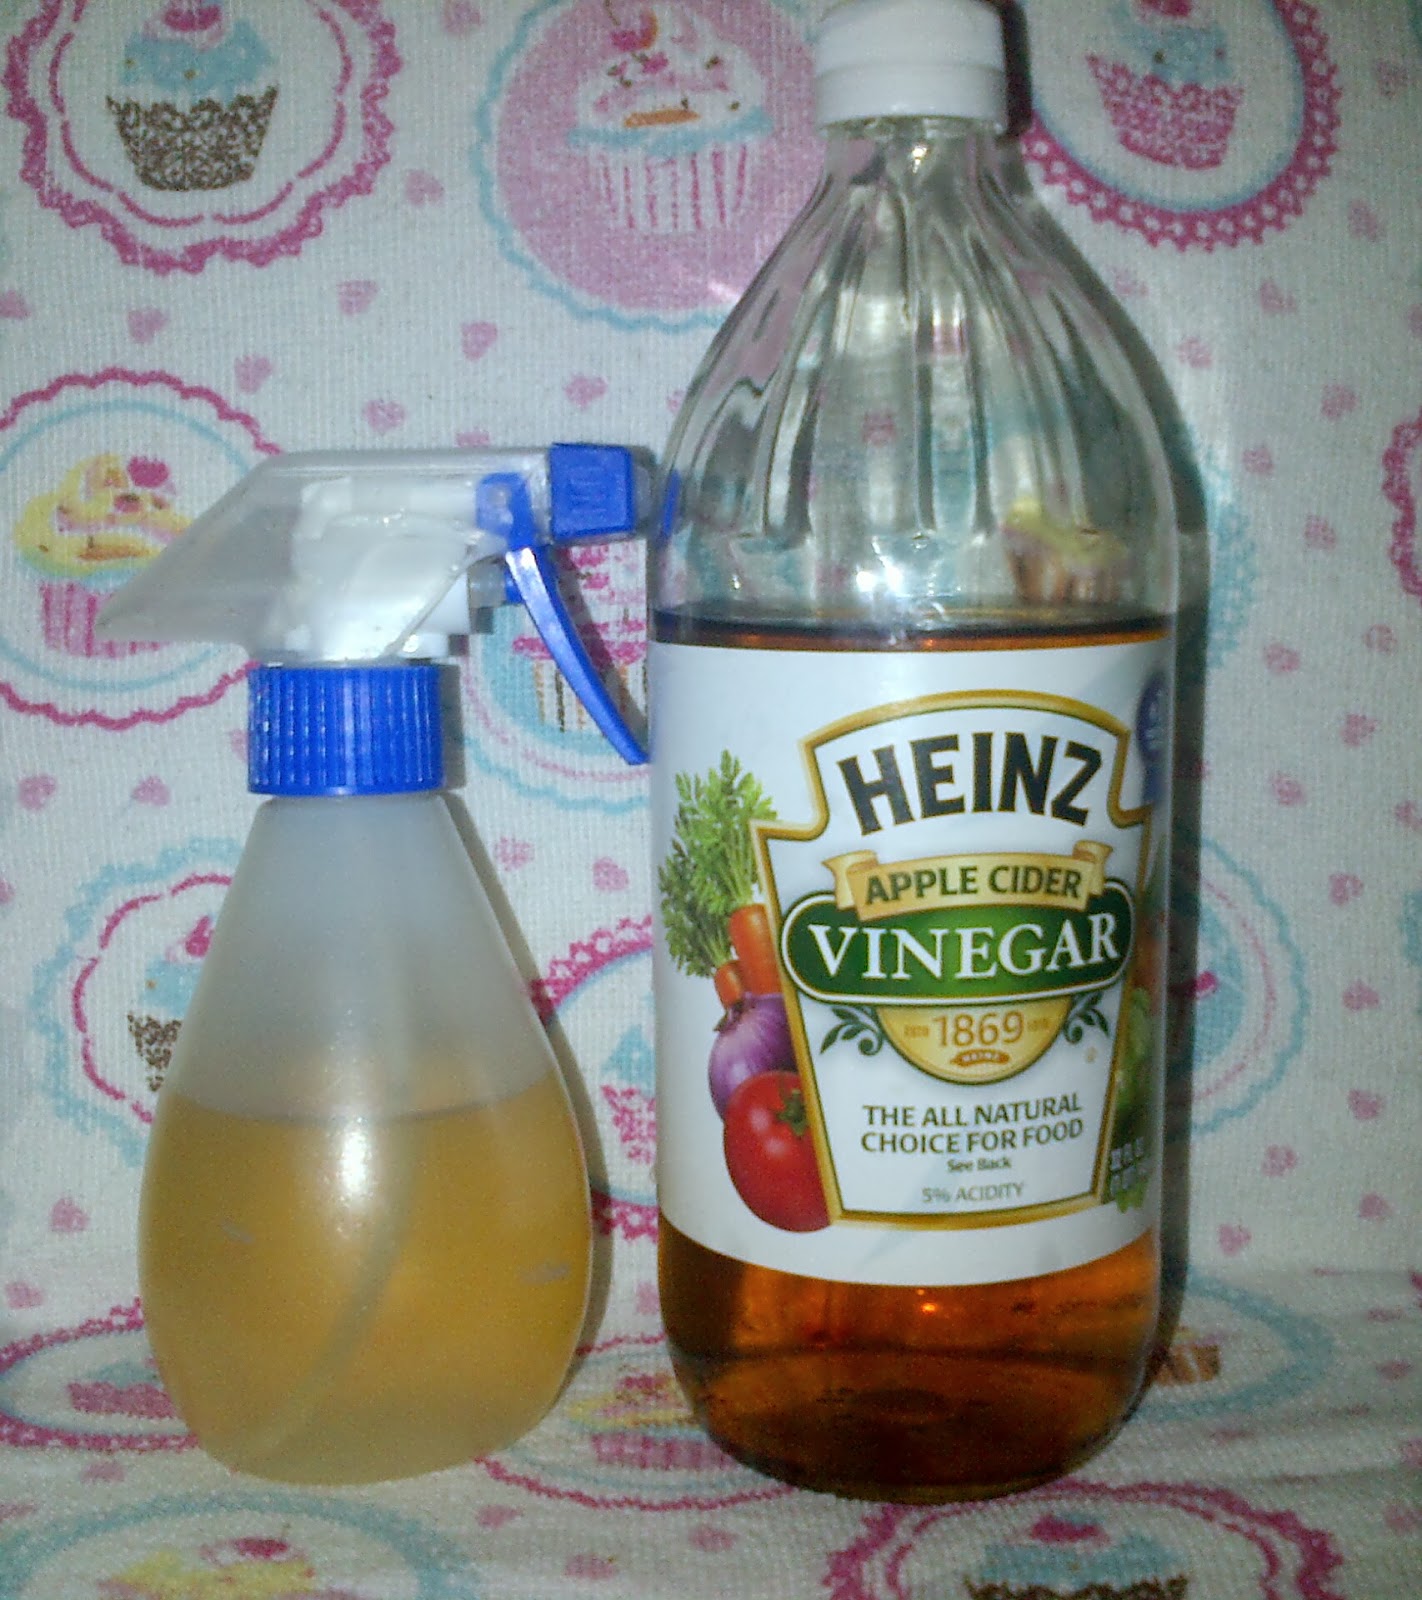
I still don't know why I bought it but I did. I tried it out and I loved it. At my first trial I used it as a cleanser because my scalp was itching and I wasn't ready to shampoo. I mixed one part ACV to 3 parts water in a spray bottle and I completely saturated my hair with it and put on a shower cap.
I must warn you though about 2 things. First it stinks like ... I insert the smelliest thing you know here. The good thing is the stench does not linger after rinsing. Second, DO NOT LET IT GET INTO YOUR EYES! It hurts like the devil himself and the redness takes a while to disappear so be very careful.
KimB
I had been hearing a lot about Apple Cider Vinegar for natural hair but I wasn't too inclined to jump on the band wagon because it just sounded weird. The claims were numerous :
- Balances hair PH due to its acid content counteracting the effects of highly alkaline shampoos and dyes.
- Removes product build up and can be used to gently clean hair in between washes.
- Closes the cuticles of your hair strands leaving hair shinier, softer and smoother.
- It relieves itchy scalp and dandruff due to the acids it contains.
I read the claims but I didn't really believe them and I went about my other hair business. All this changed in December when I went in search of coconut oil in Park and Shop Lekki. Although I make my own coconut oil I am intrigued by the semi solid one sold in jars. I searched high and low in the supermarket and I didn't find it but I found something else - Apple Cider Vinegar, ACV for short.
I still don't know why I bought it but I did. I tried it out and I loved it. At my first trial I used it as a cleanser because my scalp was itching and I wasn't ready to shampoo. I mixed one part ACV to 3 parts water in a spray bottle and I completely saturated my hair with it and put on a shower cap.
I must warn you though about 2 things. First it stinks like ... I insert the smelliest thing you know here. The good thing is the stench does not linger after rinsing. Second, DO NOT LET IT GET INTO YOUR EYES! It hurts like the devil himself and the redness takes a while to disappear so be very careful.
 |
| Avoid weed smokers eye by keeping them closed while you rinse (I learnt the hard way)! I rinsed it out 40 minutes later. As I air dried I was awed at how clean my scalp felt. The itch was gone and my hair felt really soft. I have incorporated ACV rinses into my regimen and I am loving it. It reduces the urge to shampoo for me and it makes my hair shiny and soft.Try it and see if you like it. |
KimB
will be trying this
ReplyDeletewww.fashionitazbybuiti.blogspot.com
Ok doll:-)
ReplyDeleteAwwwww!
ReplyDeleteSowie about the red eye.
Thanks porsh:-)
ReplyDelete