Hi guys,
My hair has been through a lot of manipulation these last couple of weeks so I decided to give it a well deserved break. I had been dreaming of crochet braids for a while but I was a little hesitant because of how my last crochet braiding went. Remember? It took over 6 hours and was so heavy I had to remove them almost immediately. All in all I was desperate to put my hair in a protective style so I manned up and tried my hands on crochet braids once again. This time it was a lot better, faster and lighter. The reason? I used a bigger bobby pin and I used a different brand of Marley hair.


I did 8 big cornrows straight to the middle of my head and 3 zigzagged rows at the bottom half of my head. The cornrows are really ugly so viewers discretion is advised.
I started from the last row. I put in the extensions just the way I described it HERE. It was really simple. The bigger pin was a Godsend. The extensions went in faster and as a result I was done with the back in about 1 hour.

After completing the 3 rows at the back, I started installing the braids from front to back along each row.


All done! Well not quite. I got tired of cutting and rolling the extensions so I installed the front pieces without cutting. They came out looking like this:
I had to trim the ends and do the pick and roll stuff to get them nice and pointy:
My happy face after 4 hours of hard work!
Here are some looks I rocked with this style:


I was really happy with these extensions. They are super light, no tray-of-cocoyams feeling this time. The big bobby pins made the work faster. I was done in 4 hours only because I was chatting on Whatsapp and also cutting and rolling the extensions. If I had prepared the extenstions beforehand I think I would have been done in 2 hours. I missed my fro after 11 days so I took them out and co-washed. Next on my agenda are short crochet braids. Keep a date with me!!
KimB
My hair has been through a lot of manipulation these last couple of weeks so I decided to give it a well deserved break. I had been dreaming of crochet braids for a while but I was a little hesitant because of how my last crochet braiding went. Remember? It took over 6 hours and was so heavy I had to remove them almost immediately. All in all I was desperate to put my hair in a protective style so I manned up and tried my hands on crochet braids once again. This time it was a lot better, faster and lighter. The reason? I used a bigger bobby pin and I used a different brand of Marley hair.
 |
| I found bigger bobby pins! |
 |
| Compared with the one I used the last time. |
I used this Marley braiding hair from Supreme. It was really light. I used one and a half packets:
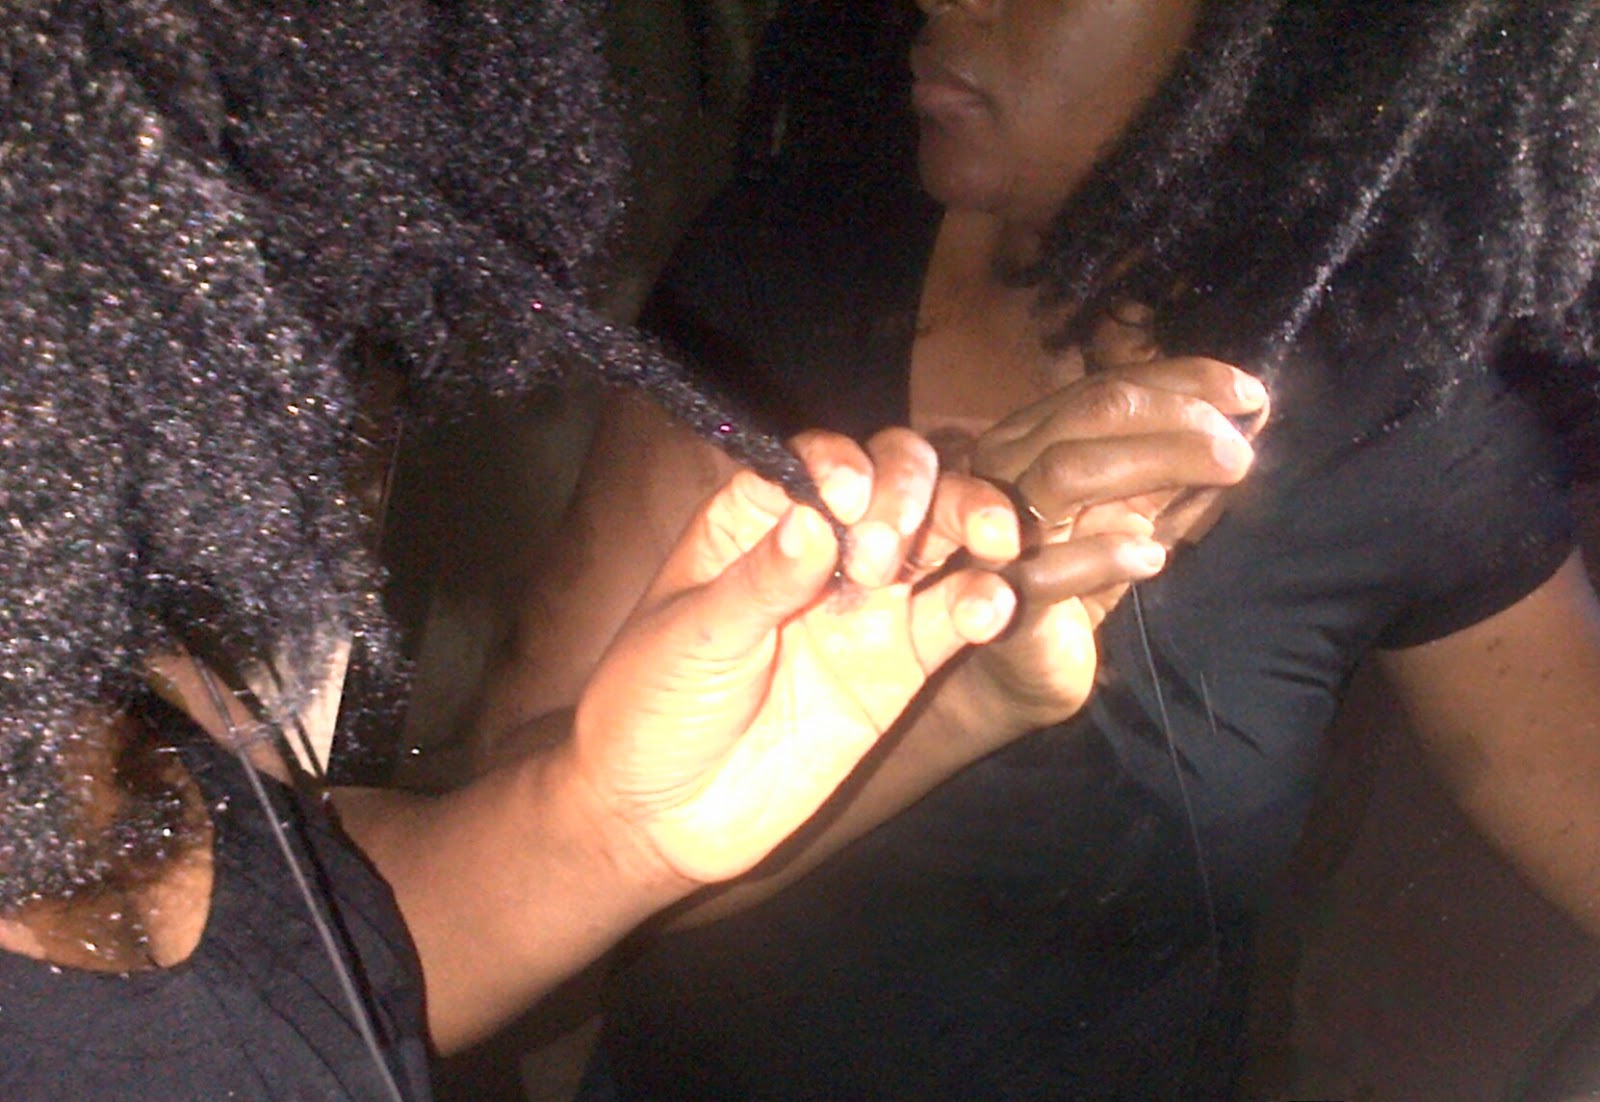
The Marley hair was too long for me. I wanted medium length braids so I had to figure out how to trim them without getting those annoying blunt ends. I asked a hairdresser and she told me I could cut the braids and then pick them out. That is, after cutting the braid you start pulling the hair out until the ends become uneven like so:
Now the question of how to turn the picked out ends to the pointy ends had to be answered. Another hair stylist told me to simply roll the picked out ends between my palms several times until it sticks together. I did that and got these:
 |
| My only excuse for this horrible mess is that I was in a hurry |
 |
| The Predator certainly looked better. |
My happy face after 4 hours of hard work!
 |
| All done!!! |
Here are some looks I rocked with this style:
I was really happy with these extensions. They are super light, no tray-of-cocoyams feeling this time. The big bobby pins made the work faster. I was done in 4 hours only because I was chatting on Whatsapp and also cutting and rolling the extensions. If I had prepared the extenstions beforehand I think I would have been done in 2 hours. I missed my fro after 11 days so I took them out and co-washed. Next on my agenda are short crochet braids. Keep a date with me!!
KimB
not bad...you did a good job
ReplyDeletewww.folasoasis.com
Thanks a lot Fola ;-)
DeleteCrochet braiding?! Wow!
ReplyDeleteLooks easy though even though I still don't understand the technique.
Good job.
ebunoluwole.com
Its really easy, I wish I had pictures of the actual process but its hard to take pictures myself while I'm putting in the extensions. If you can check Youtuber Jouelzy's video on crochet braids. that's where I learnt how to do it.
DeleteYeah my first try was a disaster but I'm thinking to do them again. I just ordered crochet hook from Aliexpress. A girl was selling them for 10€ each plus p/p. I got 5 for 4.99€ plus p/p from Aliexpress. Sure it would take 30 days to get here but that's OK. I saw a girl use regular expression. She curled each piece in hot water with rollers and it looked a lot like the bohemian hair. I do have bohemian weavon but I'm fretting!!! Good job.You made me bold to try it again
ReplyDeleteI wish I could get my hands on those crochet hooks. Then I would be able to install pre - braided hair. Please try again, practice makes perfect.
Deletelovely and i like that you do your hair yourself and save cost
ReplyDeletefashionitazbybuiti.blogspot.com
Thanks Buiti, for me its not about the cost. It's about control and convenience :-)
DeleteThe fact that u do this yourself is pretty awesome.
ReplyDeleteYour hair's gorgeous!
Thanks alot Danielle :-)
ReplyDeleteThanks alot AB, I saw those pictures on IG and I swooned! I'll attempt them someday.
ReplyDeleteThanks Porsh (: You can do this too!
ReplyDeleteYou are talented, and I have always known - you did such a commendable job, dear
ReplyDeleteAwwwwww thanks alot Obi :-)
DeleteThanks Kenny
ReplyDeletePlease how much did you get your weave?
ReplyDeletePlease how much did you get your weave?
ReplyDeleteYou made me go watch videos on crochet braids and I finally installed mine.... U can check it out on my blog www.thehairmaniac.blogspot.com
ReplyDeleteI am very enjoyed for this blog. Its an informative topic. It help me very much to solve some problems. Its opportunity are so fantastic and working style so speedy. I think it may be help all of you. Thanks.
ReplyDeletehealthy hair
pixie haircuts
precision Haircuts
hair extensions
eyelash extensions